
Give your customers the DRAWER QUALITY they deserve at a price you can afford!

PROUDLY CELEBRATING 26 YEARS IN BUSINESS!
We truly appreciate your business and look forward to serving you again in the future!
Quality Made & Built to Last!
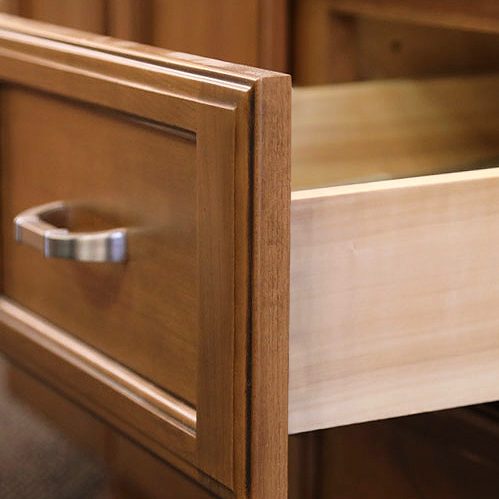
Custom Dovetailed Drawers Mesa, AZ | Wood Drawer Manufacturer

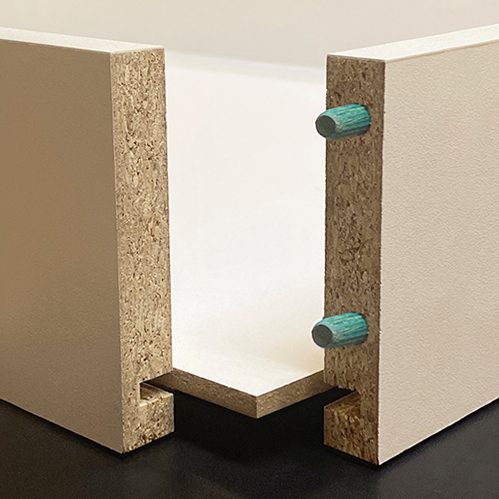
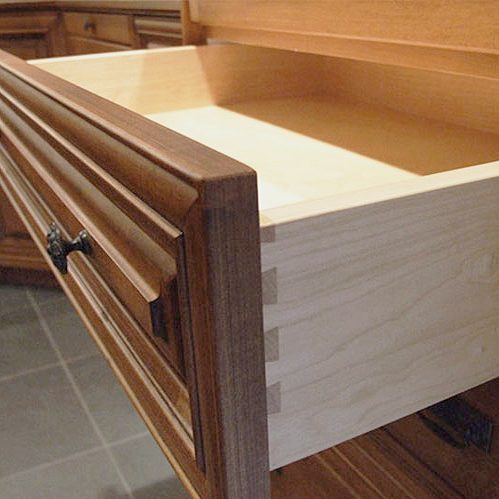
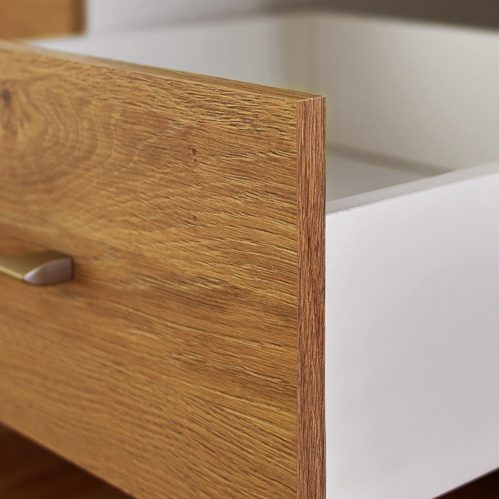
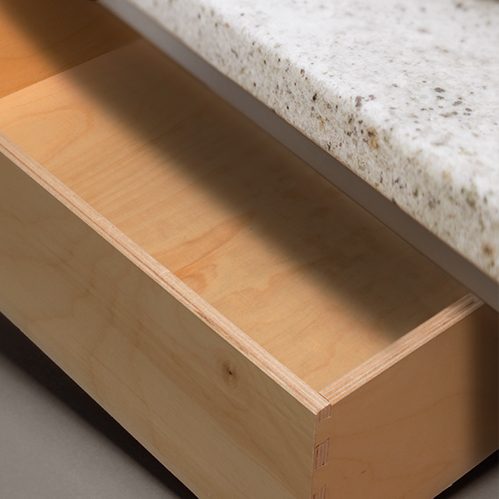
Our Drawer company prides itself on giving its customers total quality satisfaction. That’s why we only manufacture high-quality Dovetail & Dowel Drawer boxes for multiple applications including Commercial Casework, Institutional Casework, Residential Cabinetry and Furniture Manufacturing. Whether you choose our Melamines, on MDF or PBC, Plywood, Maple or any of our various species of Solid Woods, you can feel confident that the same quality will go into each and every drawer.
Made in the USA!
WE ARE A VETERAN OWNED & OPERATED COMPANY!
We have enjoyed phenomenal growth in our customer base since our inception, due in large part to the loyalty of our valued customers. We want to personally thank you for your trust and confidence in choosing Drawer Connection, Inc. for your custom drawer manufacturing needs. By using our online ordering system, it ensures accuracy and saves valuable time in placing orders. Let us show you how we can help save you time and money. If you have any questions, please do not hesitate to contact us directly at 1-877-917-4887. Thank You!
Why Choose DC Drawers?
OUR CUSTOMERS ALWAYS COME FIRST!
At Drawer Connection, our philosophy is to “Give customers the drawer quality they deserve at a price they can afford.” And we have been doing just that since 1997! We provide our customers with the highest quality materials, craftsmanship and customer service. Our dedication to exceeding your expectations ensures that you will receive a high-quality product, complete to your specifications, and on time. We take pride in providing the best service – no matter how large or small your custom drawer order. Our team works hard to assist your business by cutting production time, increasing profits and delivering absolute customer satisfaction. – Steve Harmon (President/CEO)

Exceptional Customer Service
What is service if not exceptional? Small or large orders are welcome including broken drawer replacements. Our drawer services include custom drawer boxes, friendly and dependable customer service, 24/7 online instant quoting and ordering, special options, and affordable prices.
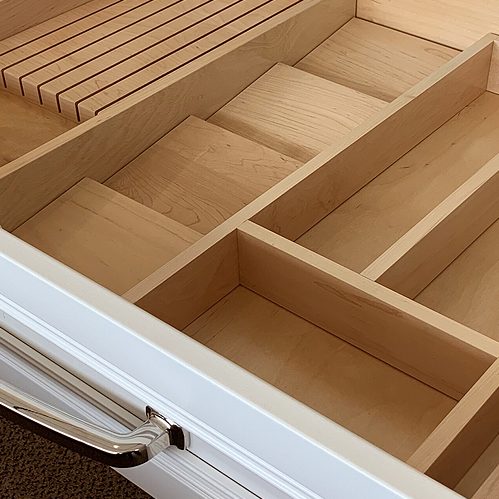
Custom Designs Built to Last
We design to your custom specs and have competitive lead times on melamine’s and plywood’s including emergency services at no additional charge, competitive lead times on solid materials (lead times are subject to change!), and 24 hour online ordering services. Contact us today and learn more.
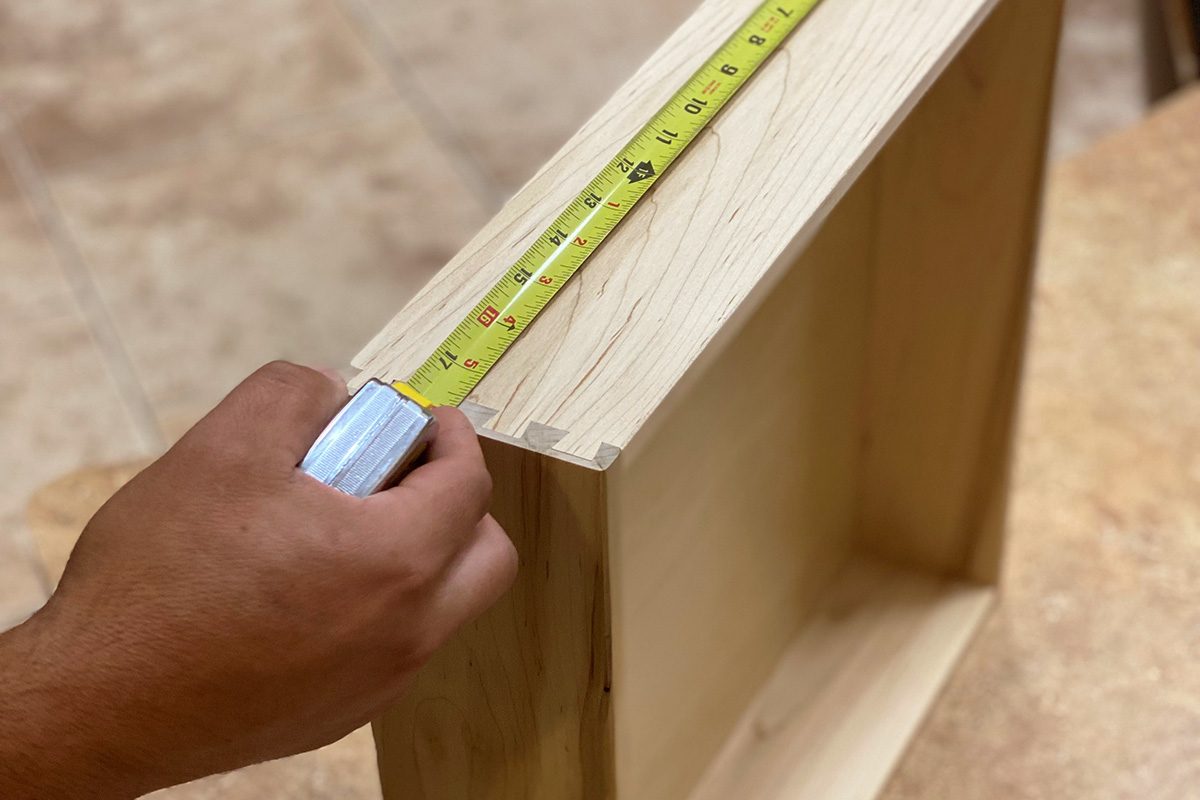
Quality Assurance Guaranteed
At Drawer Connection Inc. we give you so much more than just a price. We understand that every dollar spent is vital to the growth of your company. Let us help you with increased production, decreased mistakes, and generate higher revenue with real quality dovetail & dowel drawer joints.
Dedicated to Client Happiness
We care about our products and adhere to the highest standards of quality assurance. This prevents any risk of production mistakes, lost customer revenue, and slower lead times. Your happiness is our priority.
DRAWER CONNECTION OFFERINGS
- CUSTOMIZED TO YOUR SPECIFICATIONS
- ON TIME DELIVERY
- 24 HOUR ONLINE ORDERING
- COMPETITIVE LEAD TIMES
- EXPERT CUSTOMER SERVICE
- SATISFACTION GUARANTEED
- WIDE SELECTION OF MATERIALS